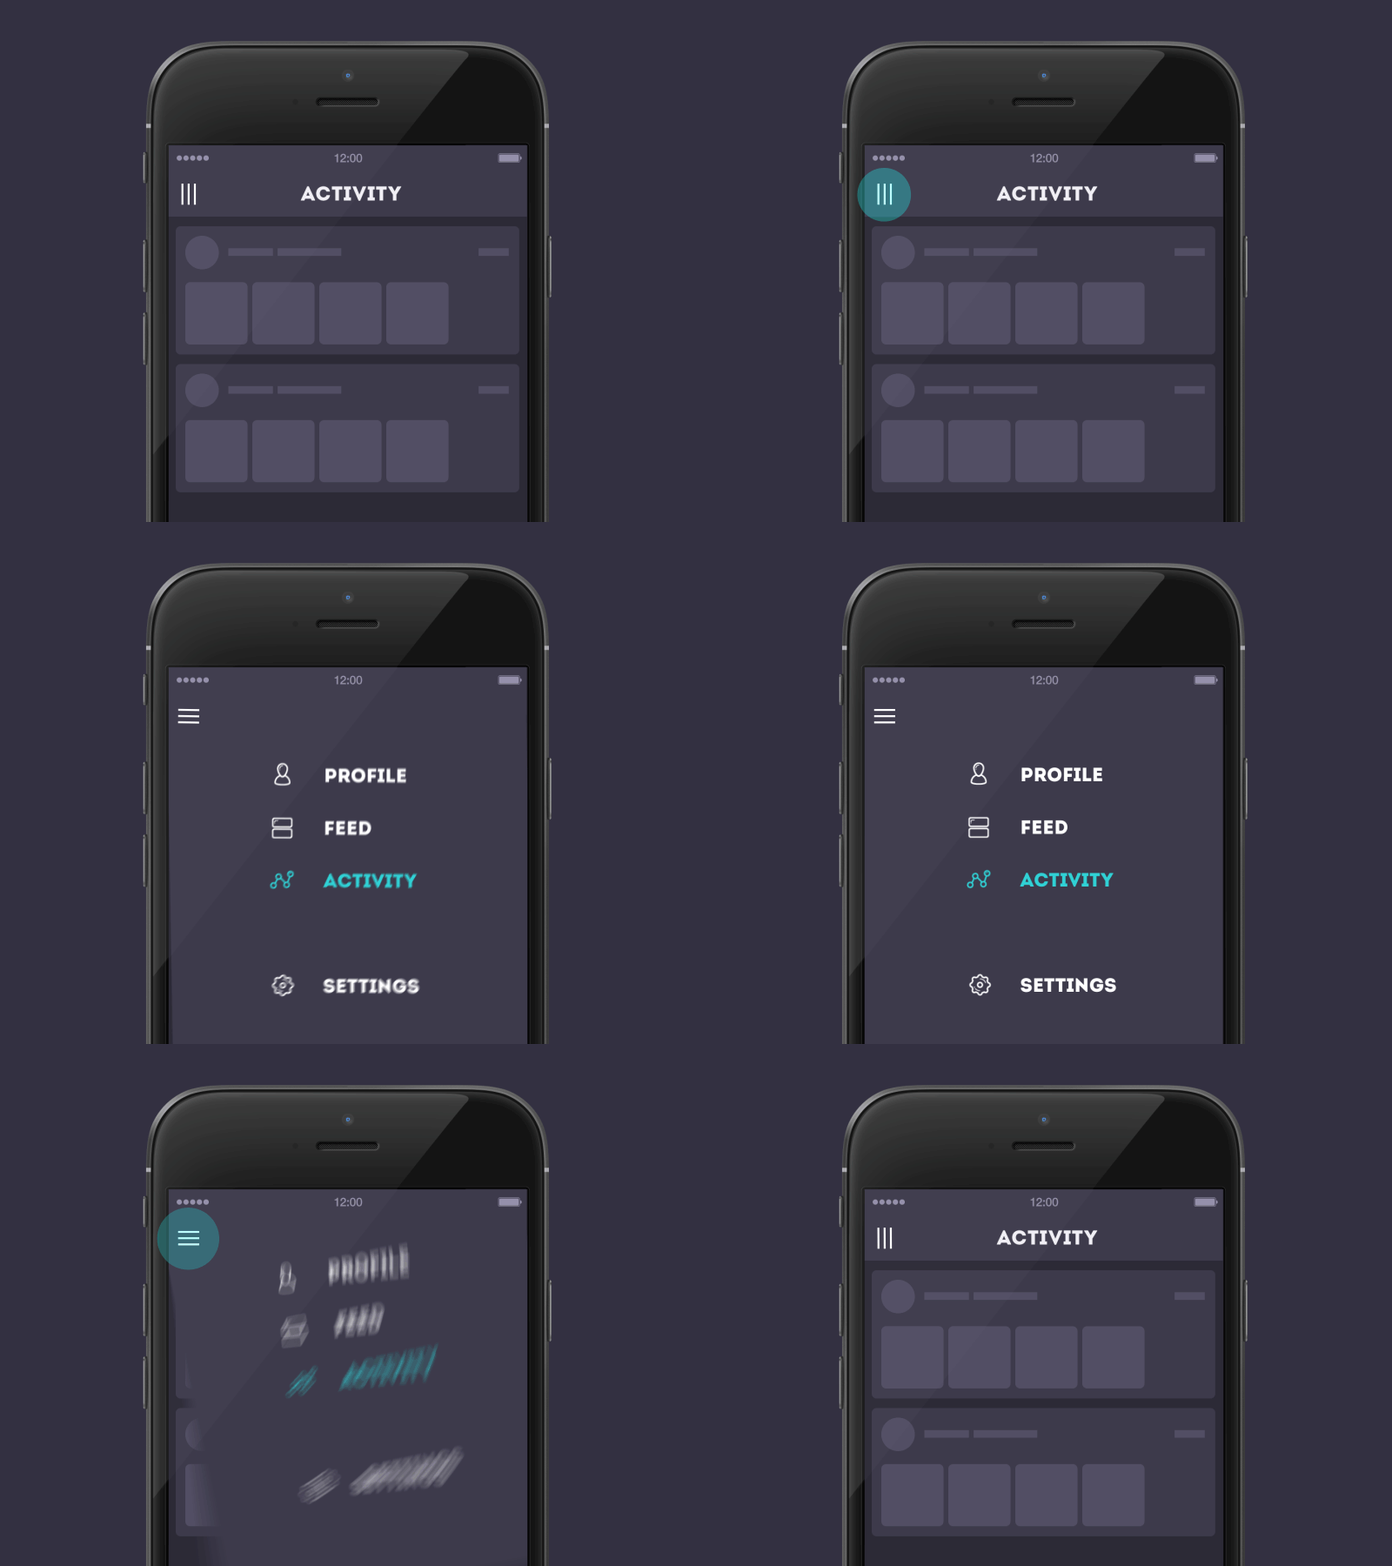
How to Create Android Topbar Menu with Guillotine animation? Have you ever wondered why a sidebar in apps has to be a “side” bar? Why not to make it a “topbar,” or a “bottombar,” or a “cornerbar,” etc.?
A new animated trend in the generation of navigation bars is what we are going to talk about this time. Animations are fun but most importantly, they are useful. They can change your way of thinking, make your product catchy, and improve user experience.
“From time to time every designer gets bored. All these fixes, cuts, specifications – they leave very little space for imagination. In these minutes I feel like opening my Adobe After Effects and creating something interesting.
You should read : Uber Car Animation in Android
When I started thinking about what to create this time, I caught myself on a thought that a typical sidebar menu which sadly gets out of the left part of the screen moving all content to the right, is so unbearably boring! What if a sidebar becomes a topbar?
It’s going to drop down from the top of the page and turn in a unique way. Sounds like fun, doesn’t it?”
How to : Add Pull To Make Soup animation
For a working implementation of Android Topbar Menu with Guillotine animation, have a look at the app module
Add JitPack repository
Add JitPack repository in your root build.gradle at the end of repositories:
allprojects {
    repositories {
        ...
        maven { url "https://jitpack.io" }
    }
}
Add Gradle
Add the dependency to your app build.gradle
dependencies {
    compile 'com.github.Yalantis:GuillotineMenu-Android:1.2'
}
Create Guillotine menu
You need to create a layout for the navigation menu (guillotine.xml in sample app), which will later open and close guillotine-style. The only tricky part here is that the navigation layout should be on top of any other content and will disappear after closing animation ends. That is why content layout (activity.xml in sample app) should also have hamburger icon at the same coordinates as navigation menu has.
Do you know : How to add Android Jelly Toolbar Animation?
Configure animation with menu
After that all you need to do is to build animation by passing navigation layout object, navigation and content layout hamburger objects to GuillotineAnimation.GuillotineBuilder in your onCreate method.
new GuillotineAnimation.GuillotineBuilder(guillotineMenu, guillotineMenu.findViewById(R.id.guillotine_hamburger), contentHamburger)
            .setActionBarViewForAnimation(toolbar)
            .build();
Here setActionBarViewForAnimation method enables bounce effect of Toolbar at the end of the guillotine closing animation.
Recommended : Two Panels Layout Animation Android Library
Download project
[button color=”blue” size=”” type=”3d” target=”_blank” link=”https://github.com/Yalantis/GuillotineMenu-Android/archive/master.zip”]Download project here[/button]
That’s it. Building the animation was quite a challenge, but it was totally worth it! Now our smooth Guillotine menu is available for Android.

Share your thoughts