
In this Part we are going to configure an Android Studio with Kotlin and leave everything prepared for the next story to start developing the Keddit App from the beginning and learning some Kotlin concepts.
If you missed the first part of this Stories you can go to the Introduction just to get a quick overview of what we are going to be developing, which Kotlin topics are going to be covered and also which libraries are going to be used.
Create Project
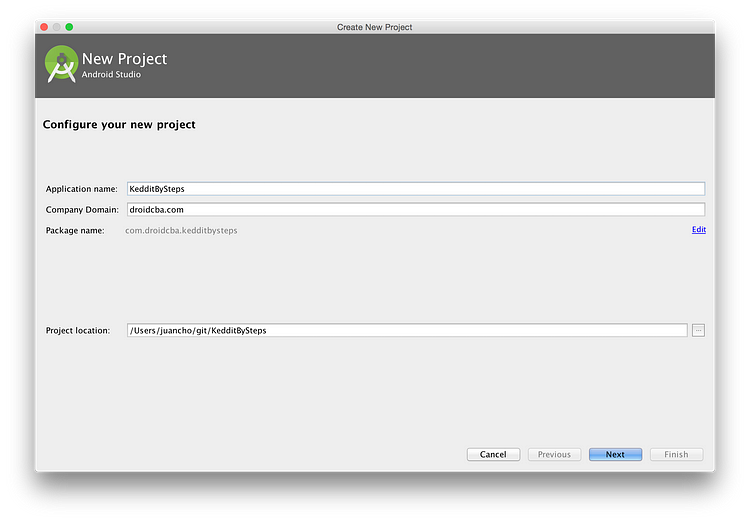
We are going to start from scratch, launch Android Studio and create a new Project, I’ll name it “KedditBySteps” just to keep this project separated from the one that is already complete and also to allows you to checkout the code while we are developing.
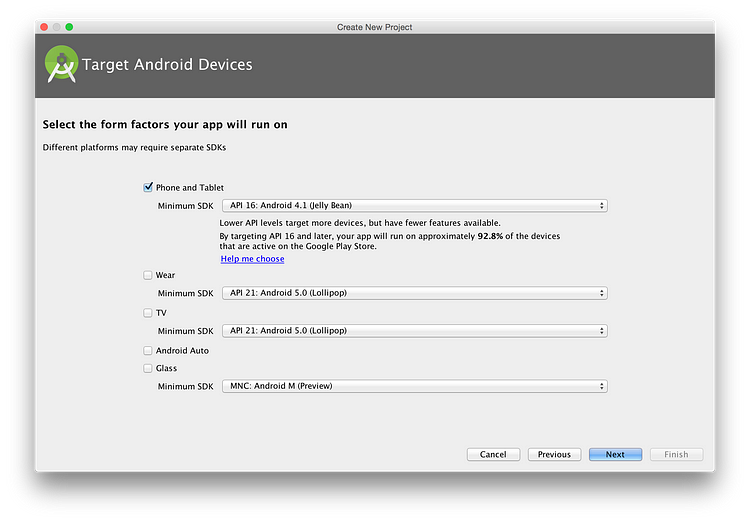
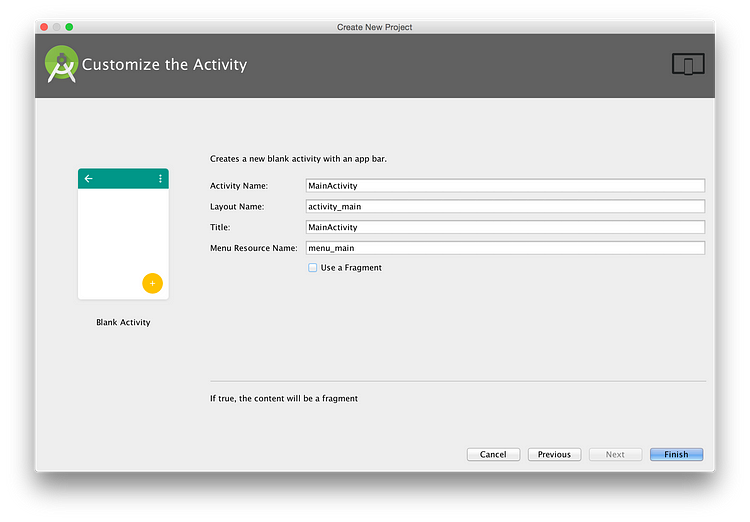
Choose API Level 16, select “Blank Activity” and just leave the default name.

Kotlin Plugin
Ok we have a new Project, let’s install the required Plugin for Kotlin. Go to:
Android Studio Pref > Plugins > Browse Repositories > search for “Kotlin”
Install only the Plugin called “Kotlin” and restart Android Studio.
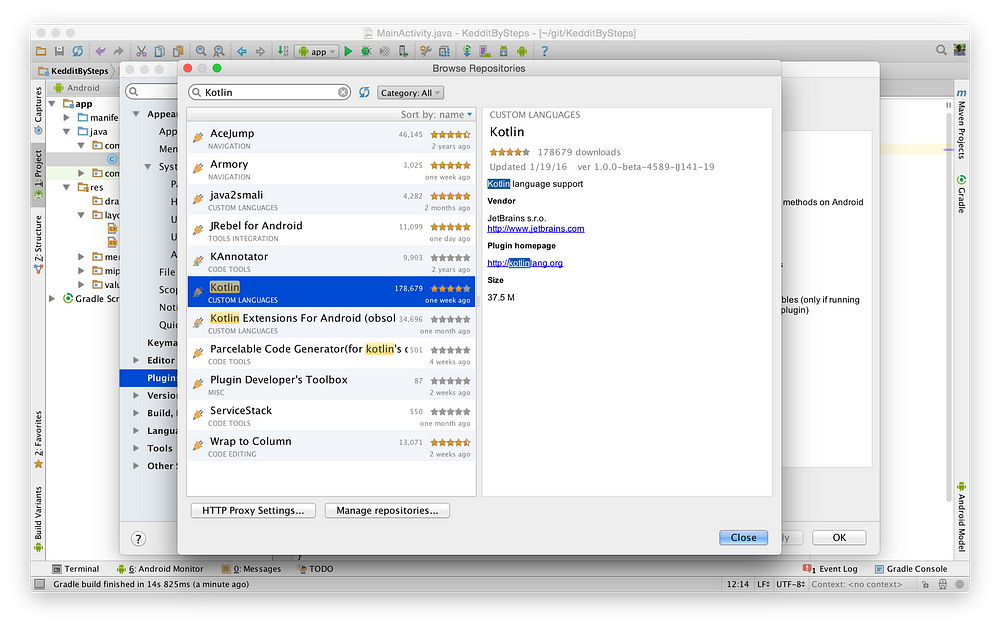
There are other Kotlin plugins but we only need this one as the Kotlin Extensions Plugin was already integrated in the first plugin so we are OK with this one.
Note: Now you can use Android Studio 2.0 that was released with the Kotlin Plugin.
Configure Project with Kotlin — “first attempt”
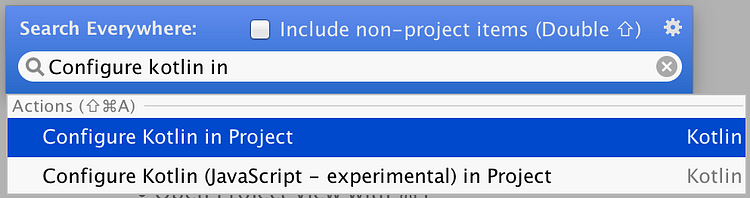
If you already read something on how to configure Kotlin, maybe you feel tempted to execute the plugin action to “Configure Kotlin in Project” which is accessible from Tools > Kotlin or by Android Studio Find Actions (pressing Shift button twice) and searching for “Configure Kotlin…” like in this image:
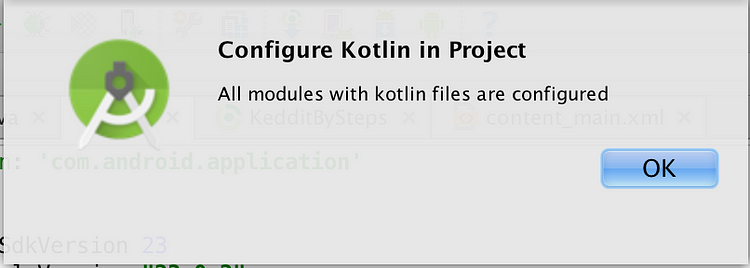
If you do this, you will notice that nothing happens. The only thing that you will see is a message that all modules with Kotlin files were configured.
And that’s why nothing happens because we don’t have any Kotlin file in our project so the Plugin didn’t configure our project. So let’s create a Kotlin file and configure this project again.
From Java to Kotlin file
In order to have a Kotlin file we are going to convert our already created MainActivity.java file into a Kotlin file. In order to do that just open the MainActivity.java file and open Find Action and start searching “Convert Java to…”
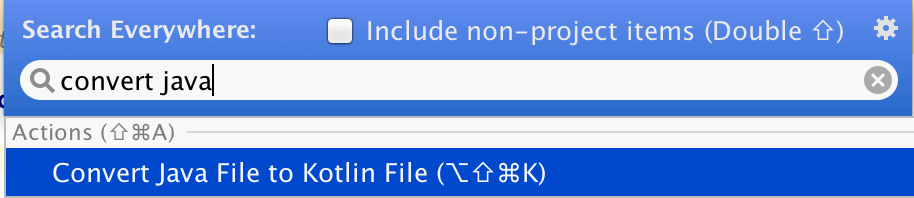
A message will warn us that maybe the conversion is not accurate and required some manual modifications but we are fine for now with this.
You will see something like this:
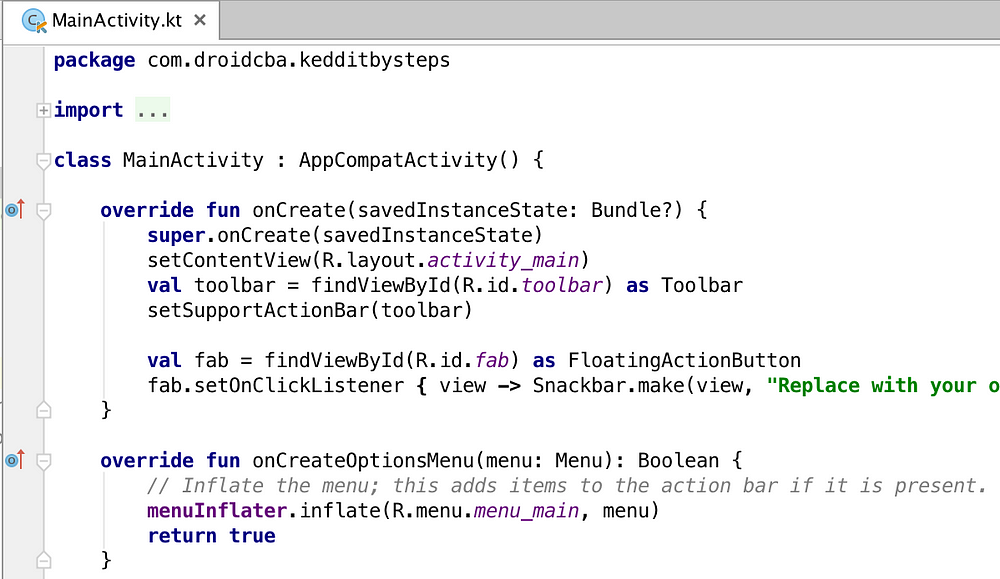
Right now we are not going to review this file (this will be in the next Post) so we can continue configuring this. Also for sure you notice the extension name of our new Kotlin file which is “.kt”.
Configure Project with Kotlin — “Last one :)”
Now we are ready to configure it. Let’s run again the “Configure Project with Kotlin” action:
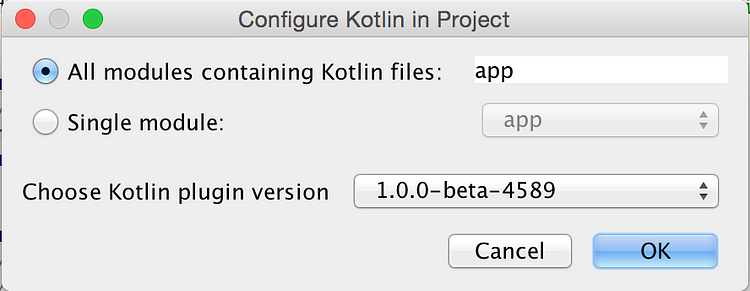
Choose the latest Kotlin version and make sure to have the latest Plugin installed in Android Studio
A new message will appear allowing us to select which modules we would like to convert and also the Kotlin plugin version that we want to use (just pick the latest one in this case).
You will notice that the build.gradle file from your module was updated. It will have new configurations like this:
apply plugin: 'kotlin-android'
...
sourceSets {
    main.java.srcDirs += 'src/main/kotlin'
}
...
dependencies {
    ...
    compile "org.jetbrains.kotlin:kotlin-stdlib:$kotlin_version"
}
...
buildscript {
    ext.kotlin_version = '1.0.0-XYZ'
    repositories {
        mavenCentral()
    }
    dependencies {
        classpath "org.jetbrains.kotlin:kotlin-gradle-plugin:$kotlin_version"
    }
}
At the beginning you had to do this manually but now with the Plugin this is really easy.
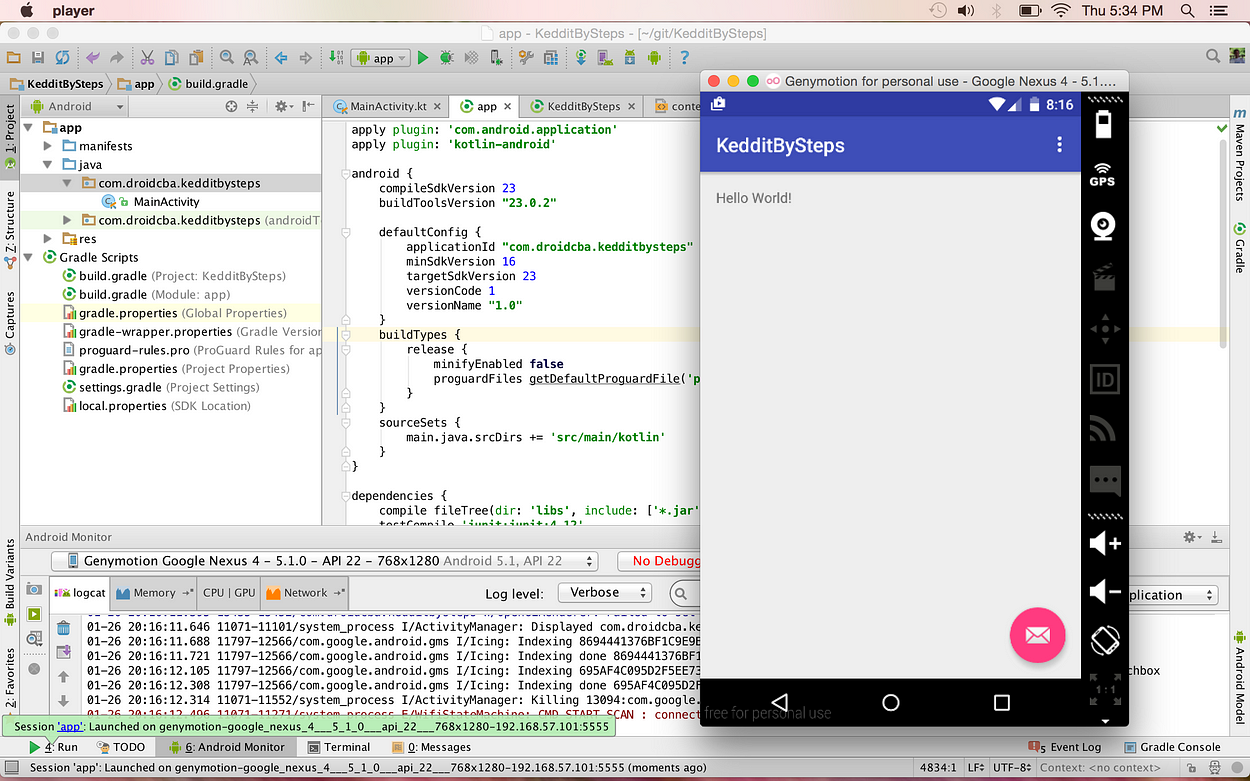
Run, run, run!
Everything is ready to run this App and using our new MainActivity.kt Kotlin file 🙂
Repository
Here you have the code that we developed in this Part, also it was tagged with the tag name “v0.1” which identify the Part1 of this tutorial.
Conclusion
As you can see, it’s really easy to configure an Android Studio project with Kotlin, we only need a Kotlin file in the module in order to configure it with the Plugin.
With this new project we are ready to start developing the Keddit App but most important to start learning some Kotlin concepts.
Please, if you find something to improve or any suggestion, don’t hesitate to contact me, I’ll try to do my best to answer any question or improve this tutorial.
See you in the next story where we discuss about Kotlin Syntax, Null Safety and more!
Share your thoughts