Over the last few years the number of viewers who watch videos on mute has increased significantly. There are many reasons why that is the case, but the bottom line is that you should be adding subtitles with your video so that they are able to deliver their message – even without audio.
How to Quickly Recover with EaseUS Data Recovery Wizard?
While there are several ways to add subtitles to videos, one of the best is to bake them into the video directly using Movavi Video Editor. Not only will this make the subtitles inseparable from the videos, but it will also give you greater control over their appearance.
How to Add Subtitles
Contrary to what you may think, it is really quite easy to add and customize subtitles using Movavi Video Editor. In fact if you want you can launch it right now, select the ‘Create project in full feature mode’ option, and follow the simple instruction on how to add subtitles to a video.

To get started, click on the ‘Add Media Files’ button in the editor and select the video that you want to add subtitles to. Next, open up the ‘Titles’ tab to see the various styles of titles available in Movavi Video Editor and click on any icon to preview what it will look like. Keep in mind there are numerous styles available, some of which are animated as well.
How to Convert MOV to WMV or WMV to MOV?
After you’ve decided on the style that you’d like to use for your subtitles, drag it down to Movavi Video Editor’s ‘Timeline’ where your video is located. It will appear in the ‘Timeline’ and you can drag it around to position it so that the subtitle starts and stops at the right time. If you want to enter the text of the subtitle, double-click the title in the ‘Timeline’ then double-click the text in the ‘Preview’ window and type it in.
While you’re entering the text of the subtitle you can also edit its appearance using the icons above Movavi Video Editor’s ‘Preview’ window. The ‘Clip properties’ icon will let you control the title animation, the ‘Font properties’ button will let you adjust the style of the font, and the ‘Color properties’ button will allow you to alter the colors it uses.
GMail video attachment features
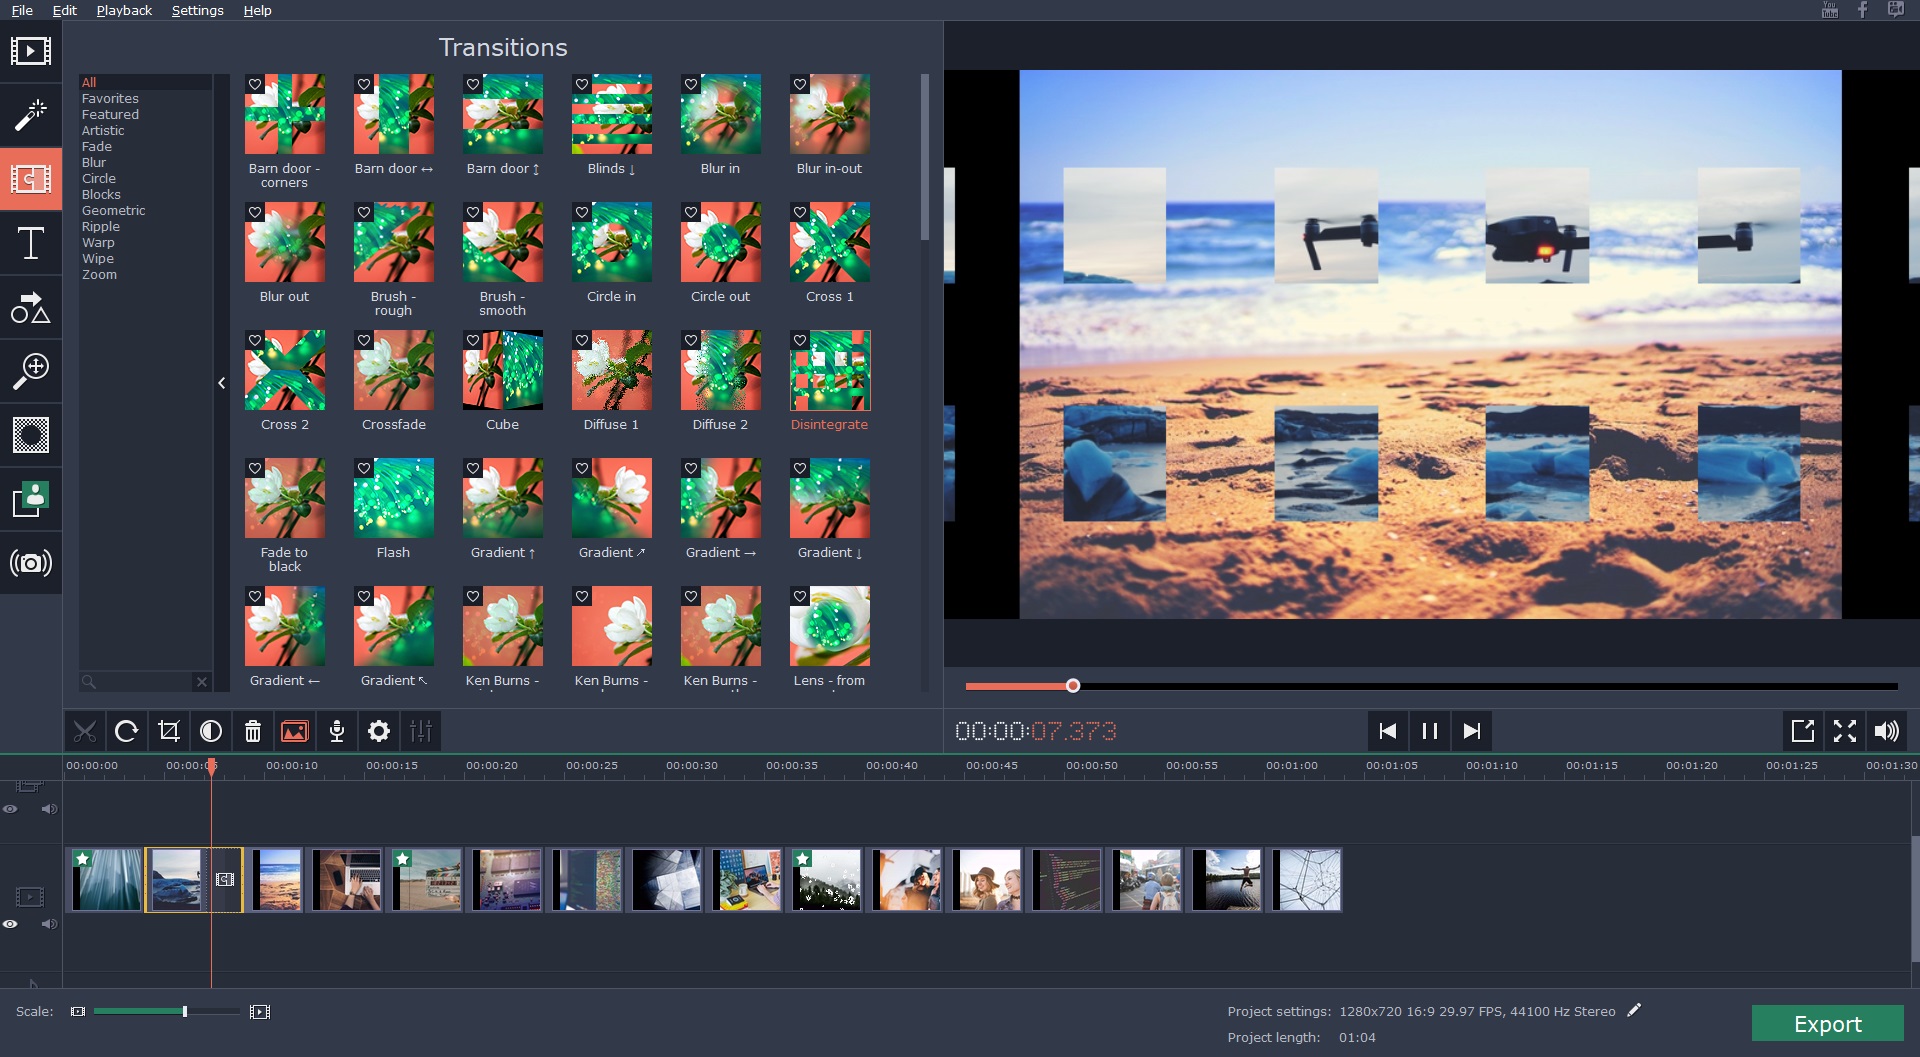
If and when you’re satisfied with the subtitle and how it looks – click ‘Apply’ to finalize it. Once you do you can proceed to add more subtitles using Movavi Video Editor for the rest of the video. As you do you may want to use its other features as well to cut and join videos, apply filters or special effects, enhance the video quality, insert audio tracks, add animated transitions, and so on.
All in all adding and customizing subtitles is really not difficult due to the way in which Movavi Video Editor structures it. As soon as you’re done you can click ‘Export’ to save the video, and the subtitles that you added will be baked-in permanently so that your videos can more effectively deliver their message without relying on audio too heavily.
Share your thoughts