
Something that we need to continue improving our Keddit App is to include Continuous Integration with Kotlin. It would be great if a new build is run every time we push new code to the repository, the unit tests are run automatically for us and also to receive an alert if the build has failed. Let’s do it with our Keddit App.
BuddyBuild
Buddybuild ties together and automates building, deploying and gathering feedback for mobile apps.
If you’re developing a mobile application, and are looking for a mobile focused continuous integration, continuous deployment and iterative feedback solution that takes minutes to setup and get running, buddybuild is the right solution for you.
BuddyBuild is the tool that I chose to bring Continuous Integration into the Keddit App. It was really easy for me to configure it and have it working with my Kotlin Android apps. So let me show you how to configure it.
1. Go to BuddyBuild dashboard
Open this link in your browser to start working with BuddyBuild:
2. Login
BuddyBuild has a great integration with GitHub and Bitbucket. Also you can use one of them as a social login:

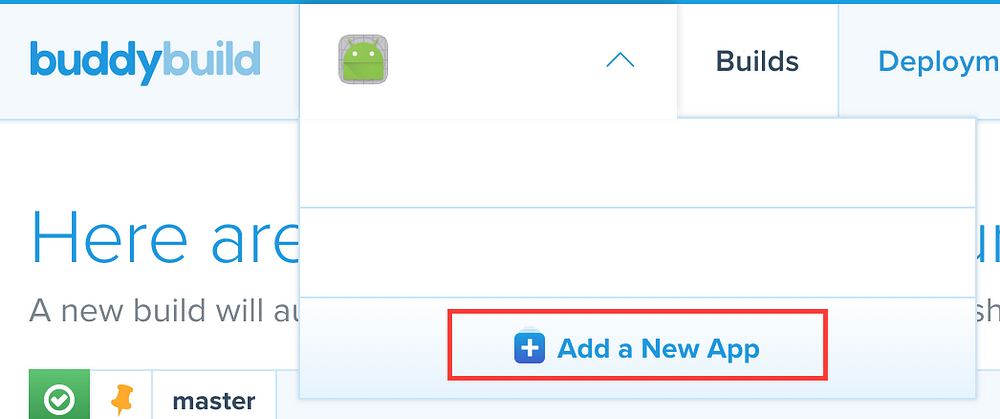
3. Add a new App
Onces you are ready and logged in you will be redirected to the dashboard and add a new App:
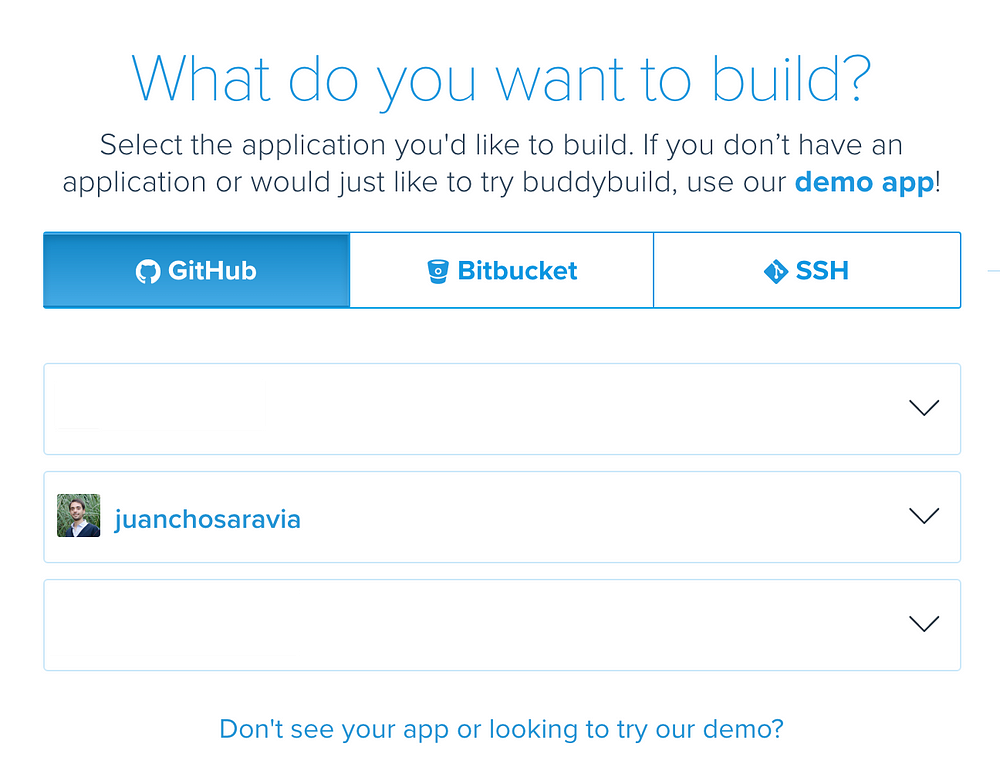
Choose your Source Repository, pick a Repository and press the “Build” button:

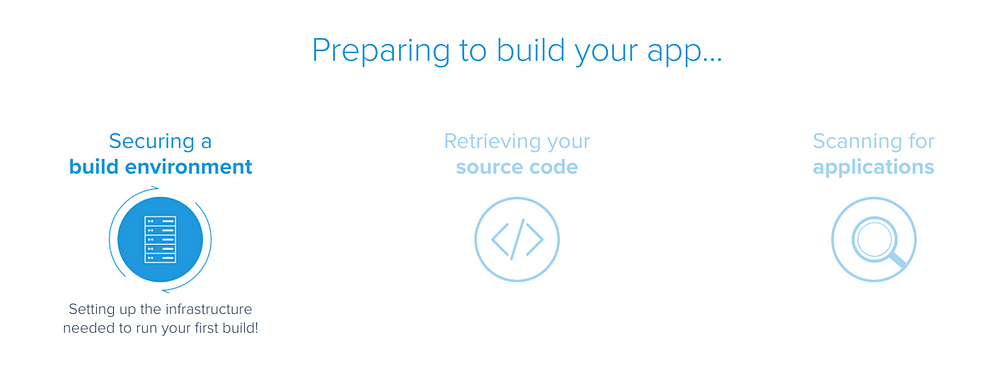
Preparing…
After you pick your repo, BuddyBuild will prepare everything to download your code, detect your project (Android in this case) and build your project for you:
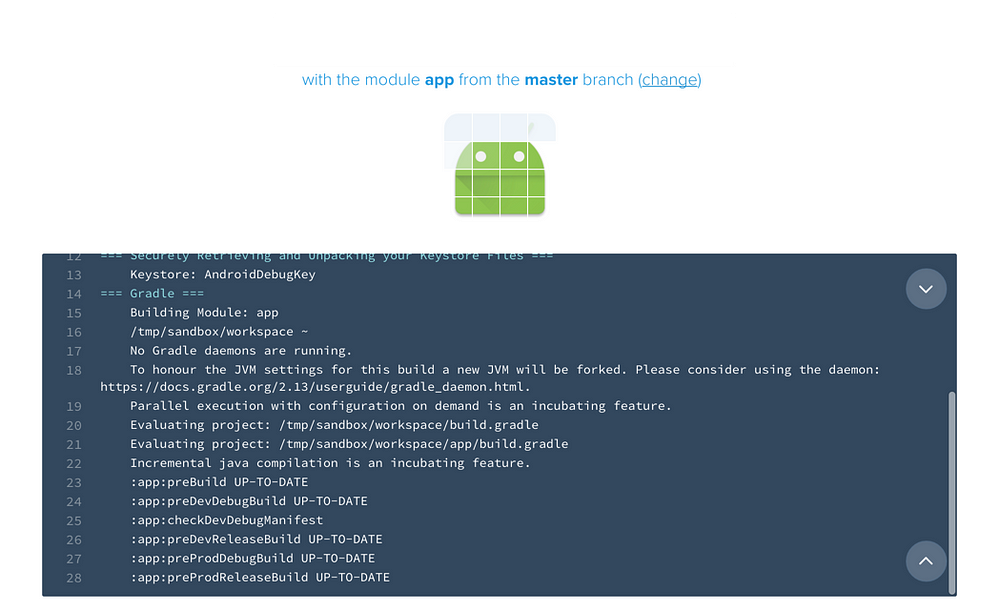
Building…
Deploying…
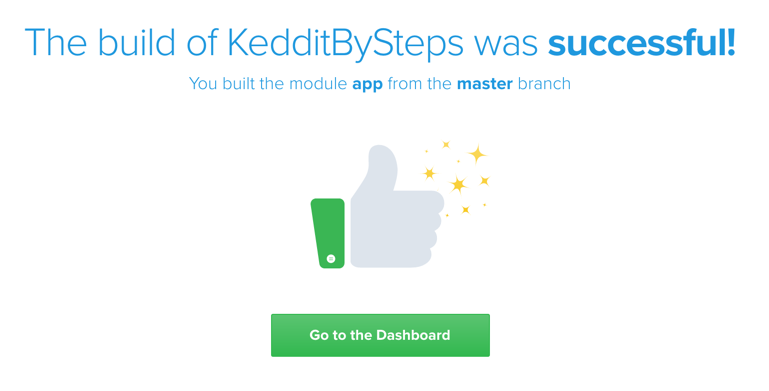
And everything is up and running! now we can access our dashboard to see some Build details.
Dashboard
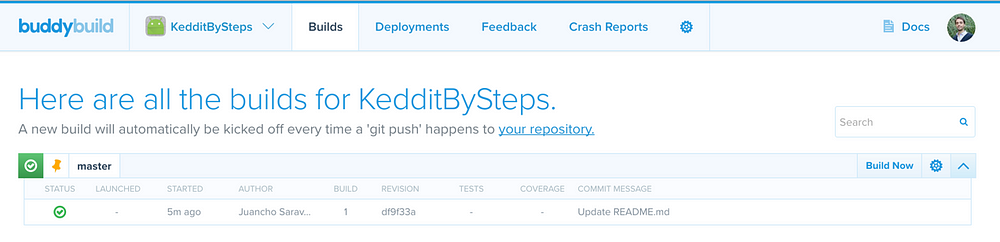
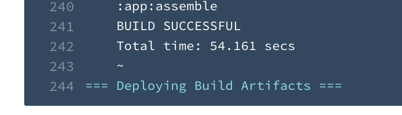
Great! Our first build was successful! but there is something weird… where are our unit tests??
Unit Tests
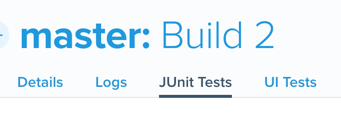
Unit Tests are disable by default and we have to manually enable it. Click on the first build and go to the JUnit Tests section, you will see something like this:

In this build the unit tests were not run, so let’s enable it!
Enable Unit Tests
Go back to the dashboard and press this Setting button:

This will open this section and make sure to enable Unit Tests:
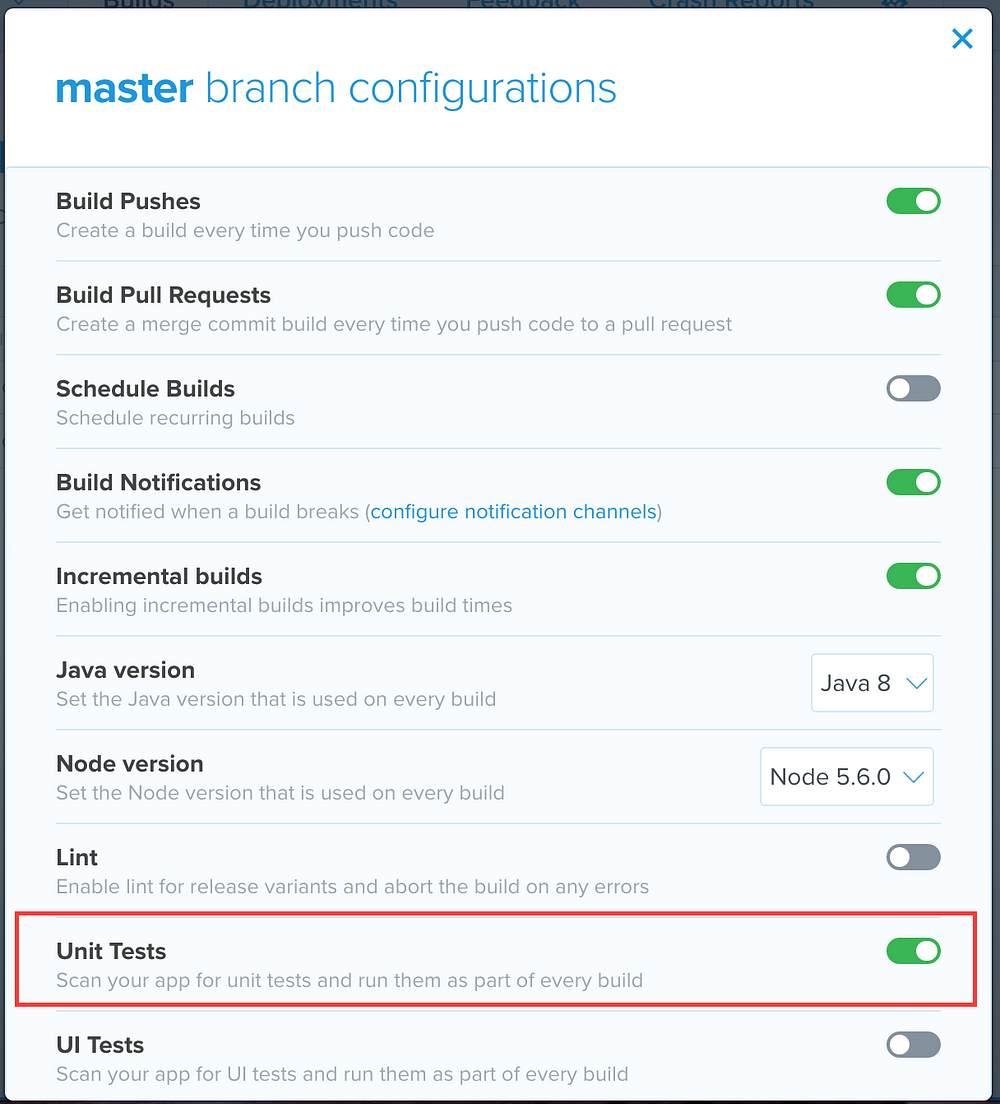
Great! now let’s run a new build. To do so, go back again to the dashboard and press the button “Build Now”, next to the Settings button.


30 Tests?
If you are following this Keddit series maybe you remember that we didn’t create 30 unit tests but just 6 (3 regular JUnit tests and 3 with Spek). So what is happening here? let’s review this, go to the JUnit Tests section inside our Second Build:
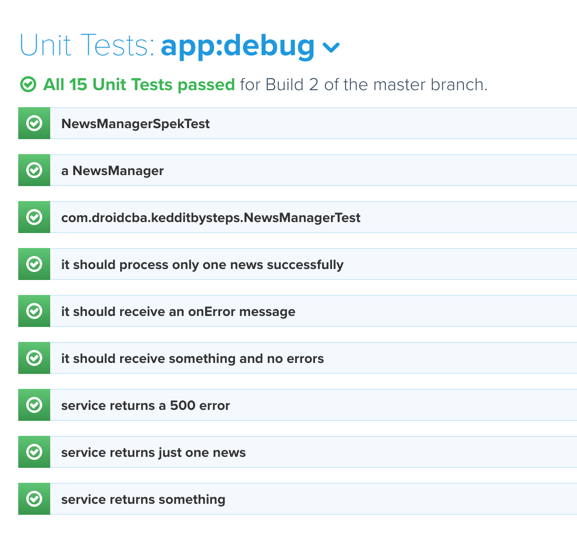
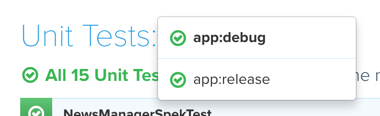
Ok I found that It said that we have 15 unit tests for the app:debug artifact and there are another 15 unit tests for the app:release. You can choose between then from the dropdown list:
But still this doesn’t make any sense at all as we didn’t created 15 unit tests!
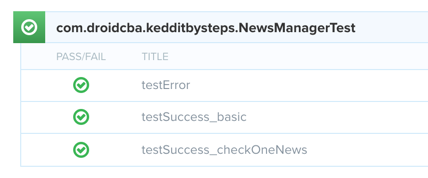
Regular JUnit Tests
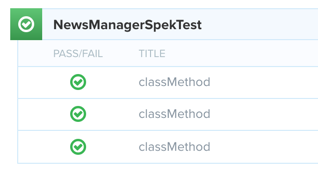
Reviewing our unit tests details I found that the regular JUnit tests are correct. All of them appears inside the NewsManagerTest class:
Spek Unit Tests
Well… seems that the problem is related to Spek and the way it declares each unit test, so we have here the Spek class:
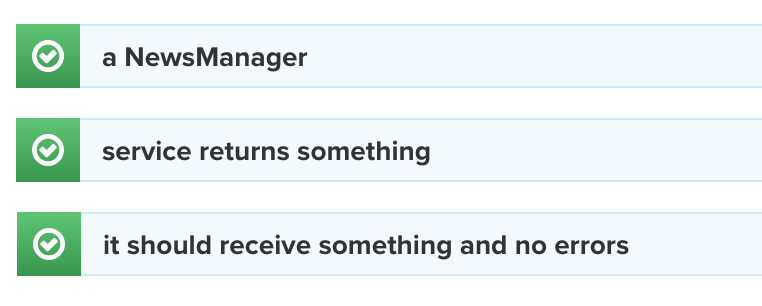
And every Spek step is considered as a different unit test and this is not good at all 🙁
Do you remember the “Given… on… it…” from Spek?
We have a unit test detail for each of them:
“GIVEN a New Manager… ON service return something… IT should receive something and no errors”
Unfortunately I didn’t find any solution to this so if you don’t want to have these issues I think the only thing to do for now is to create just regular JUnit tests, otherwise you don’t have a realistic report of your unit tests.
Build Status Badge

BuddyBuild allows you to create the Build Status Badge for your README file.
Go to Main Settings:

From the Build Settings Menu: Choose Build Status Badges
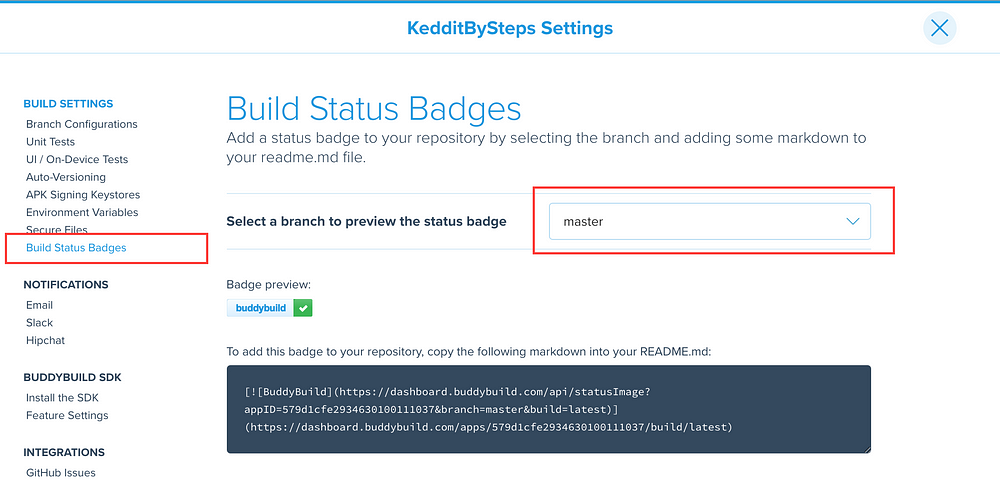
And copy & paste this link into your README.md file.
Push & Build automatically
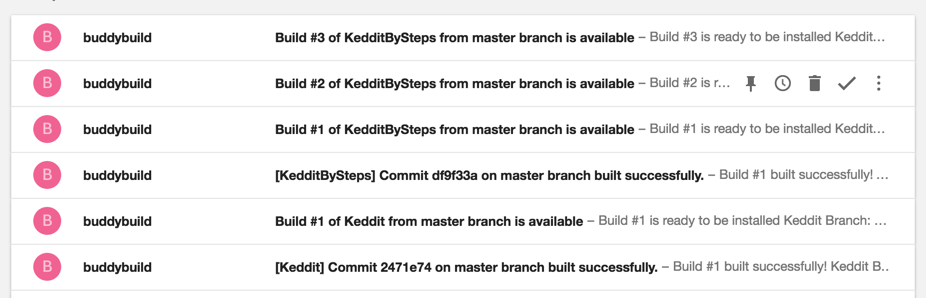
Let’s add this badge to our README file. BuddyBuild by default will run a new build process for us every time you push new code.
Badge for Keddit App:
[
You can see in the COMMIT MESSAGE that it was related to the new badge added to the readme file. For sure this was really easy!
Conclusion
As you can see Kotlin language is so easy to integrate with a Continuous Integrations system like BuddyBuild. Feel free to continue reviewing all the Settings that you have in BuddyBuild system, it has more sophisticated features to do more cool stuff with it.
Another important thing to highlight is that we didn’t have to put any line of code to configure all the Build system, it was just a few clicks to have it up and running.
Also make sure to configure Notifications properly just to avoid having your inbox full of emails and receive just the important ones:
See you in the next story!
Share your thoughts