We’ll use Bottom Nav Bar Android project and I think everyone know it very well to implement. But today i am sharing a cool library which can easily add four tabbed bottom navigation bar in your app.
Recommended article :
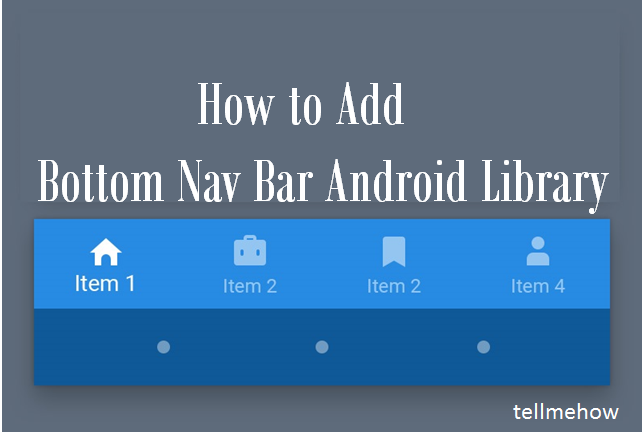
This library aids in adding four tabs in Bottom Navigation Bar, as easily and fast as possible. This result looks like as it is commonly found in most of the apps, like Quora and others.

Point to note:
This library is significantly different from what Google has provided for Android Developers. The official Bottom Navigation Bar from Google doesn’t show text when it has 4 tabs. But this library shows icon and text with four bottom bars.
Features of Bottom Nav Bar Android Library
- Easily add four tabbed bottom navigation bar with minimal code
- changes color based on accent
Installation
Add this in your app’s build.gradle file:
compile 'me.riddhimanadib.bottom-nav-bar:bottom-nav-bar:1.0.1'
How to use
Create four fragments (fragment with appcompat v4) with layouts and method to create new instance.
public class SampleFragment extends Fragment{

    public static FourthFragment newInstance() {
        return new FourthFragment();
    }

    @Override
    public View onCreateView(LayoutInflater inflater, ViewGroup container, Bundle savedInstanceState) {
        return inflater.inflate(R.layout.fragment_sample, container, false);
    }

}
Make your activity extend BottomBarHolderActivity
public class MainActivity extends BottomBarHolderActivity
Clear out setContentView() method and add the following:
@Override
    protected void onCreate(Bundle savedInstanceState) {
        super.onCreate(savedInstanceState);
        // remove this: setContentView(R.layout.activity_main);

        // four navigation pages that would be displayed as four tabs
        // contains title, icon and fragment instance
        NavigationPage page1 = new NavigationPage("Home", ContextCompat.getDrawable(this, R.drawable.ic_home_black_24dp), FirstFragment.newInstance());
        NavigationPage page2 = new NavigationPage("Support", ContextCompat.getDrawable(this, R.drawable.ic_mail_black_24dp), SecondFragment.newInstance());
        NavigationPage page3 = new NavigationPage("Billing", ContextCompat.getDrawable(this, R.drawable.ic_assessment_black_24dp), ThirdFragment.newInstance());
        NavigationPage page4 = new NavigationPage("Profile", ContextCompat.getDrawable(this, R.drawable.ic_person_black_24dp), FourthFragment.newInstance());

        // add them in a list
        List<NavigationPage> navigationPages = new ArrayList<>();
        navigationPages.add(page1);
        navigationPages.add(page2);
        navigationPages.add(page3);
        navigationPages.add(page4);

        // pass them to super method
        super.setupBottomBarHolderActivity(navigationPages);
    }
Now build and run!!
Change accent color
If you want to change the colors, just override the colors in your colors.xml file:
<color name="colorBackground">#F8F8F8</color>
<color name="colorNavAccentSelected">#9D0E15</color>
<color name="colorNavAccentUnselected">#727272</color>
That’s it. Cool isn’t it ? Hope you like this tutorial then please comment us with your thoughts.
Share your thoughts