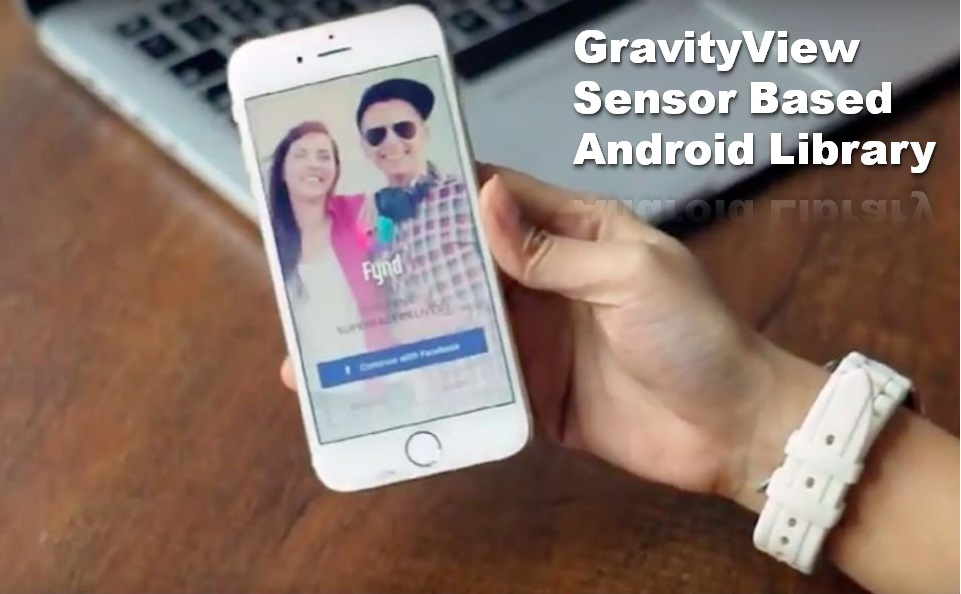
GravityView is an Android adaptation of Facebook instant articles. The concept behind the library is to utilize the motion sensors of an Android device and allow the end user to explore the product by rotating his device. It uses gyroscope motion sensor readings to scroll the image.
Problem:
We were looking for a library that could scroll the image toward side where you tilt the device, this idea is similar to the Fb’s instant article tilt. But we couldn’t find any android native library available which we can easily use it in the app.

Approach
Gravity View is born to be able to make motion sensor easy to scroll image in android as simple as it can get. Not everyone needs to look up x, y, z values of Gyroscope Sensor.
[tmh_article_ads]
In this Library, I have made use of rate of rotation of x, y, z axis of Gyroscope Sensor. Adding extra filter values to make the scroll smooth with a device tilt. Checkout the video shared on how it works.
Lets come with implementation of GravityView
Gradle dependency
It is super simple to integrate Gravity View in your current android project. Simply add the below to your build.gradle dependencies.
dependencies {
    compile 'co.gofynd.library:gravity-view:1.0'
}
Inside Layout XML File:
Sync your gradle and then add this changes in your xml layout file
<?xml version="1.0" encoding="utf-8"?>
<RelativeLayout xmlns:android="http://schemas.android.com/apk/res/android"
    android:id="@+id/activity_main"
    android:layout_width="match_parent"
    android:layout_height="wrap_content">
    <HorizontalScrollView
        android:layout_width="match_parent"
        android:layout_height="wrap_content"
        android:scrollbars="none">
        <ImageView
            android:id="@+id/bg"
            android:layout_width="wrap_content"
            android:layout_height="wrap_content" />
    </HorizontalScrollView>
</RelativeLayout>
Inside Activity or Fragment:
And then initialize Gravity View in your activity/fragment and then register and unregister it in your 0nResume and OnStop methods.
@Override
    protected void onCreate(Bundle savedInstanceState) {
        super.onCreate(savedInstanceState);
        gravityView = GravityView.getInstance(this)
                .setImage(bg, R.drawable.landingbg)
                .center();
    }
    @Override
    protected void onResume() {
        super.onResume();
        gravityView.registerListener();
    }
    @Override
    protected void onStop() {
        super.onStop();
        gravityView.unRegisterListener();
    }
Check if device is supported:
boolean is_supported = gravityView.deviceSupported();
That’s it! Gravity View is integrated into your app.
Download Source code
Hope you like this article !!
Share your thoughts