Many people know about the benefits of email signatures. And even those who don’t can observe the boost of their popularity. In fact, email signatures are extremely popular among users not without reason. They perform multiple tasks from delivering a professional look to every message you create to helping you develop trusted relationships with your recipients. Besides, such a small detail can bring a lot of traffic to your website for free! No wonder why many businesses use this tool for marketing!

How To Create And Add HTML Email Signature To Apple Mail?
Using a professional signature for your emails is always a good idea. However, it is important to use it right in order to make the most of it.
Adding your signature manually to every message is unproductive. Thus, you have to set an automatic signature.
While adding an automatic email signature in Gmail is quite intuitive, many users of Apple Mail face certain issues with this. However, it is not that difficult. All you need is to follow a few simple steps described in our guide.
First, you need to create your signature. To do this, follow these quick guidelines:
- Launch the Mail App from your Apple device. We recommend setting up your signature from Mac computer as this is more convenient than if you use an iPhone or IPad. When you opened the app, create a new message. Note that you have to delete this message after going through all the steps described below.
- Create your signature in the letter field. You can use different colors to highlight your individuality or corporate style.
Another way to make your signature stand out is to use different fonts. However, you have to keep it readable. The use of too many different fonts in one signature makes it look untidy. Same way, too fancy fonts make it hard to read.
Quick tip: ensure that your stamp provides all the essential details:
- Your name;
- Phone number, skype, email or other means of contact;
- Job title;
- Links to social network accounts;
- Link to your website, online store, blog, etc.
You can also add a company’s logo or your photo. A neat-looking picture will grab the attention of your recipients and hold it as they read your messages. This will positively influence the response rate and the effectiveness of your emails.
- Next, you have to copy your signature and close the message.
Your email signature is all ready to be set up! Now let’s see how you can add your email signature for Apple Mail:
- Go back to the main Mail window. Find the settings menu and open it.
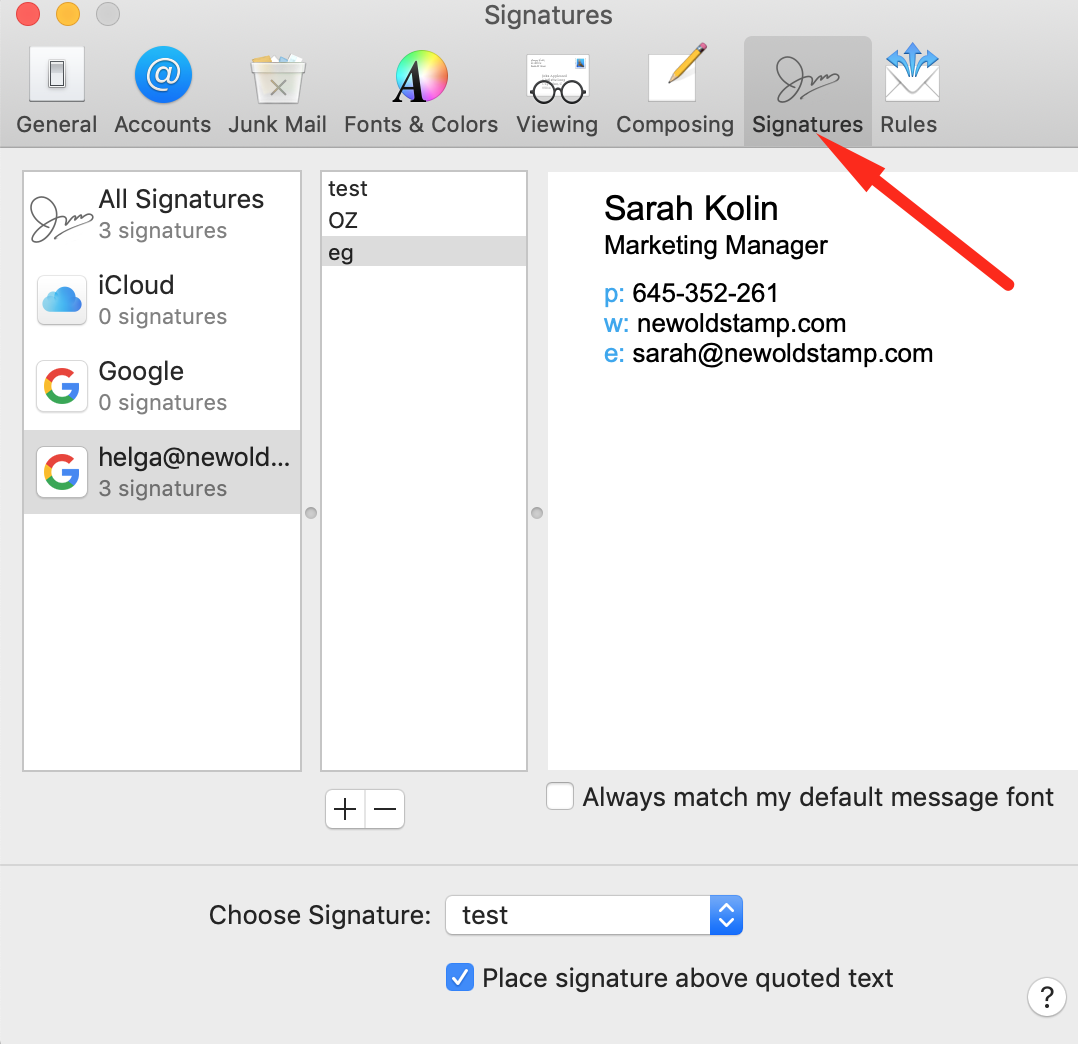
- In the main settings menu, find the Signatures tab and open it.
- Look at the field with a list of your email addresses. It will be located on the left. There you should select one of your addresses for which you created the signature. Press the “+” button and paste the previously copied stamp into the relevant field.
That’s it! If all actions steps were performed correctly, your signature would be displayed in each email sent from the selected address. If you want to have several stamp options, that’s fine. Just go through the same steps to create multiple versions. This way, when creating a new message, you will be able to choose a suitable signature.
You can do the same steps to change the signature in the Mail application on the iPhone and iPad. In this case, when sending messages, instead of the standard phrase that the message was sent, for example, from the Apple smartphone, your signature will appear.

What If You Already Have An HTML Code For Your Signature?
The guide mentioned above is for beginners. If you are an advanced user, who already has an HTML code for the stamp, you can add it even faster.
If you have created your signature in the form of HTML code, follow these guidelines to add it:
- Go to settings;
- Find the Signatures tab;
- Upload a text file that contains your signature or pastes it into the relevant field;
- Choose a suitable email address.
Once you are done, create a new message and choose a signature!
Share your thoughts